Overview
This reference guide was created because while I was adding a new custom domain to my own Microsoft 365 tenant, I wanted to update the SharePoint domain urls as well. So if you are wanting to do the same, I hope this guide helps you as well.
Reference Documentation
Microsoft’s Official Documentation
URLs to Rename
The URLs I wanted to rename are below:
Domain Prefix - the name before the top-level domain Top Level Domain - .com, .edu, .org, and so on Domain for Guide - exampledomain.com
Root Site Collection
https://exampledomain.sharepoint.com
OneDrive Endpoint
https://exampledomain-my.sharepoint.com
SharePoint Admin Center
https://exampledomain-admin.sharepoint.com
Verify Domain is Available
Domain Availability
The SharePoint URL has to be unique across all Microsoft tenants
- If we want to change the domain name to
https://anotherexampledomain.sharepoint.comthen we should open an in-private browser and navigate to what the new URL would be. In this example it ishttps://anotherexampledomain.sharepoint.com. - If you get a
404error orPage not foundthen it is most likely available. If you get a Microsoft login page then it is not available. Refer to Microsoft’s Official SharePoint Documentation for more information on this.
Install the SharePoint Management PowerShell Management Tool
Download Link 👉🏻 SharePoint Online Management Tool
Install via PowerShell
Launch PowerShell as Administrator and run
Install-Module Microsoft.Online.SharePoint.PowerShell -forceImport-Module Microsoft.Online.SharePoint.PowerShellRenaming the URLs
Verify the Fallback Domain is Added
-
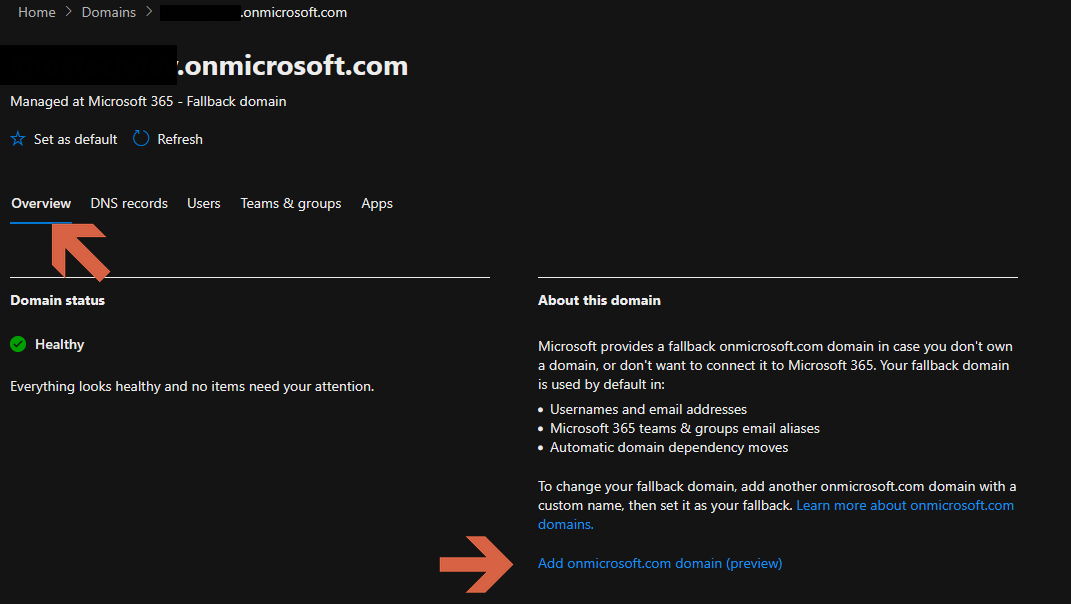
Go to Settings → Domains → exampledomain.onmicrosoft.com
-
Click on Overview and there should be an option to Add onmicrosoft.com domain, click on it
-
Add the domain you want to use for the rename

Connect to SharePoint in PowerShell
- In an admin PowerShell window, run the following
Connect-SPOService- You will be given a login window for Microsoft 365, ensure you are logging in with an account that has the appropriate permissions. SharePoint Administrator or Global Administrator
- Schedule the rename
Start-SPOTenantRename Breakdown
-DomainName “anotherexampledomain” -ScheduleDateTime “YYYY-MM-DDTHH-MM-SS” The scheduled date and time must be 24 hours in the future and less than 30 days in the future
- Schedule the rename with this command
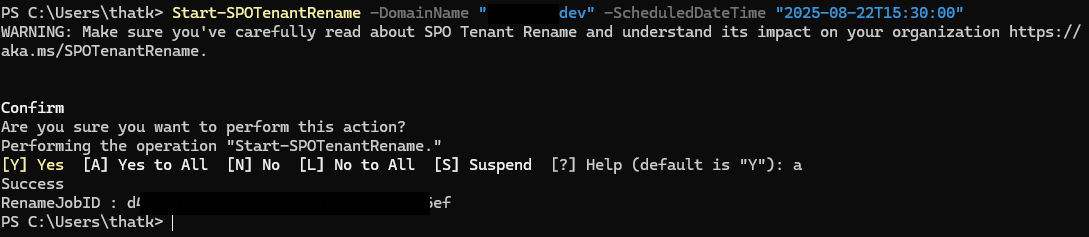
Start-SPOTenantRename -DomainName "andotherexampledomain" -ScheduleDateTime "2025-08-22T14:30:00"-
You will be prompted to confirm, and if success you will get a success message
-
You can check the status of the renaming with
Get-SPOTenantRenameStatus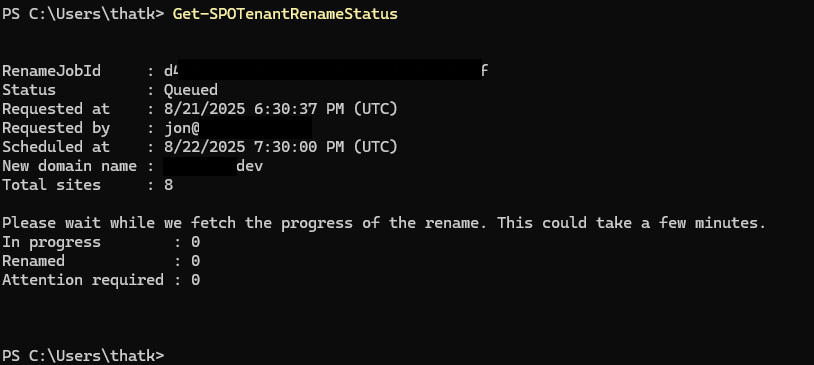
After Rename
To ensure a smooth experience with OneDrive after renaming, sign out of OneDrive and sign back into it to sync the new URLs